How to turn your drawing into a coloring page
Bring a sketch from your notebook to a page you can color again, with clear outlines, simple scanning advice and room for your own hand-drawn details.
A sketch takes on a different life when you return to it with color. The little bird you drew on a receipt might become pale blue one evening and peach the next.
To make a coloring page, give the drawing clear outlines, scan or photograph it, then tidy the background before printing. Leave enough open space for someone to enjoy adding color, including you.
Keep the lines you love
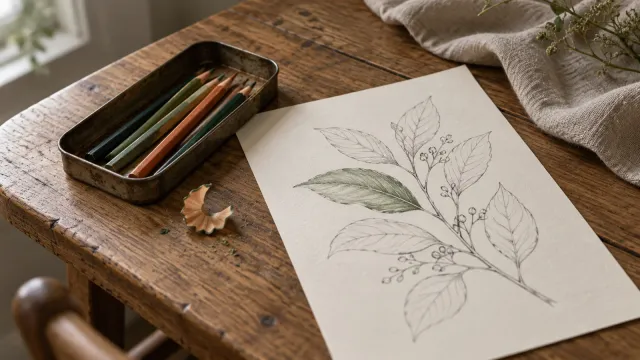
Begin with a light pencil sketch. Avoid pressing deeply into the paper, since grooves can remain after the graphite is erased.
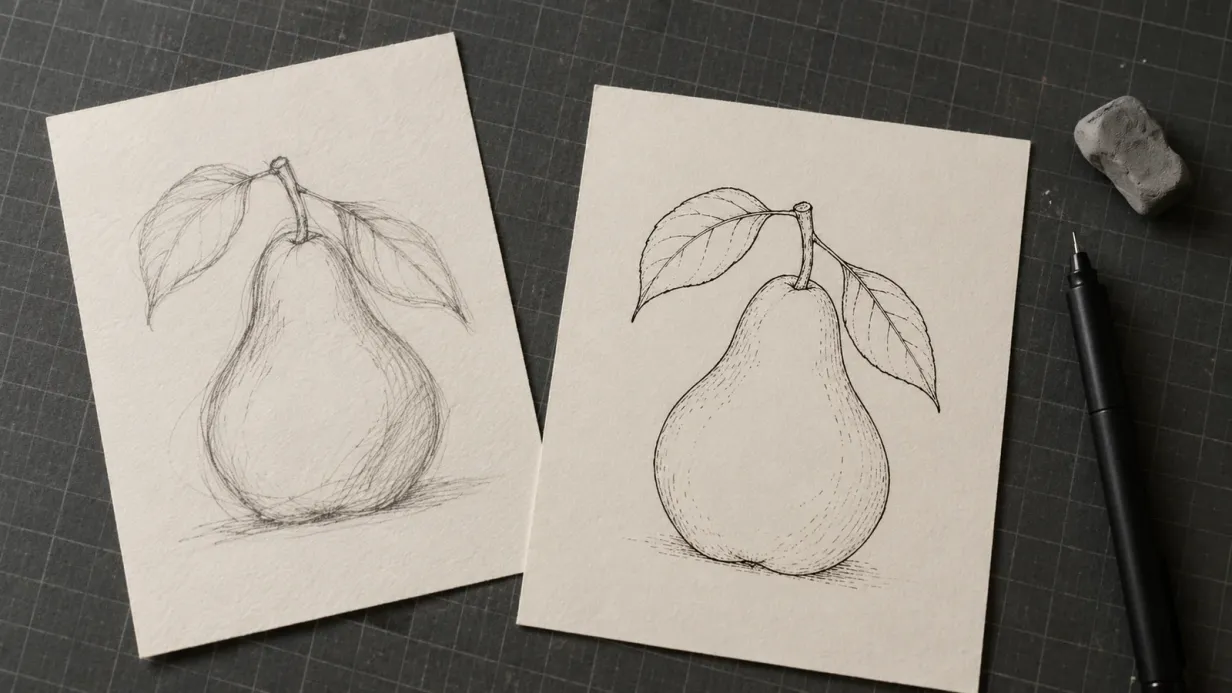
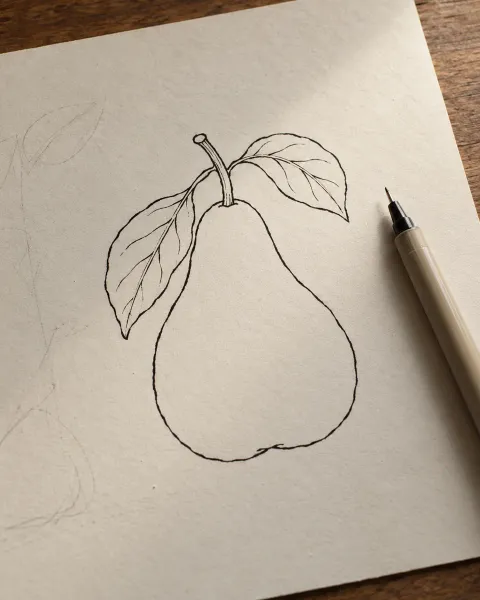
Trace the lines you want to keep with a fineliner. A slightly heavier outer edge can separate the subject from its background, while finer marks leave room for small details.
Let the ink dry according to the pen’s instructions before gently erasing the pencil. If you plan to paint over the original, test that the pen resists water once dry.
Leave space for the color
Look at the drawing as if you’re about to color it. Can a brush or pencil move comfortably through the shapes?
Close gaps where you want a digital fill tool to stop. On paper, outlines guide your hand; they don’t physically contain wet paint.
Consider simplifying dense hatching or shaded patches if you’d like to add those shadows in color later. A few inked details can stay. They are part of your drawing’s character.
If a cluster of shapes feels fiddly, combine some of them or print the drawing a little larger. You get to decide how much detail is pleasant.
Capture it in even light
A flatbed scanner is a straightforward option. Around 300 dpi is a useful starting point for printing at the original size; a higher resolution gives you more room to enlarge.
For a photograph, lay the page flat near a window in even light. Hold the camera parallel to the sheet and keep your shadow out of the frame. Avoid a bright patch of sun on one corner.
Crop to the paper and straighten the image before cleaning it up.
Clear the background gently
Open the image in an editor with brightness and contrast controls. Levels or Curves can give you finer control if available.
- Lighten the paper until the background looks clean.
- Deepen the outlines without losing delicate marks.
- Remove stray specks and any pencil lines you don’t want.
- Close remaining gaps that would let a digital fill spread.
- Check the drawing at its intended print size.
A Threshold adjustment can make the image strictly black and white, but it may break thin lines. Keep a copy of the original scan so you can return to it.
Save a PNG for digital use and a PDF at the page size you want to print. Vector tracing is optional; it can smooth an outline, but sometimes the slight wobble is the part worth keeping.
Make a print you’ll enjoy using
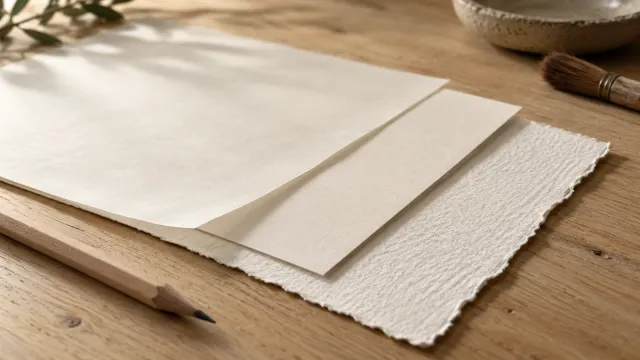
Choose paper to suit your pencils, markers or paint, then check that your printer supports it. Our paper guide covers the options.
Print one test sheet before making copies. Check that the smallest shapes still have room for color and the fine lines remain visible.
For a little coloring book, gather a few drawings and print them on one side of each sheet. A copy shop can help you choose a binding that lies flat. Keep a protective sheet behind the page when using markers.
Start with a photo if you prefer
Tracing a photograph gives you control over what to include. Use your own image, or one you have permission to adapt, and draw the main contours on tracing paper or a separate digital layer.
Simplify the background and keep only the details you want to color. An automatic converter can offer a starting point, though the result may need stray marks removed and outlines closed.
Bring the sketch into Linea
Linea lets you photograph a drawing and turn it into a page you can color. Clear outlines and open shapes give the color room to work. Turning the sketch into a page needs an internet connection; built-in and downloaded pages can be colored offline.
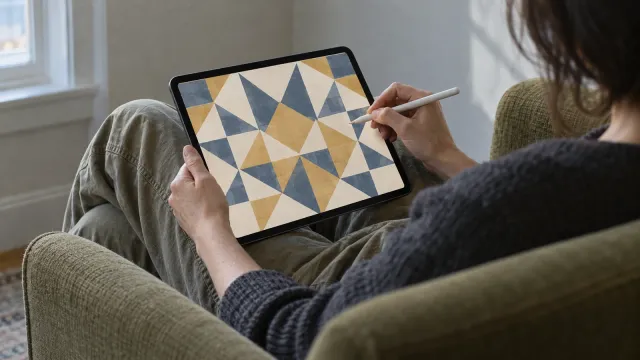
You can return to the same drawing with another palette whenever you like. For working with a Pencil on a screen, see coloring on iPad.
If you’d like a ready-drawn page to practice with first, here is the bird:
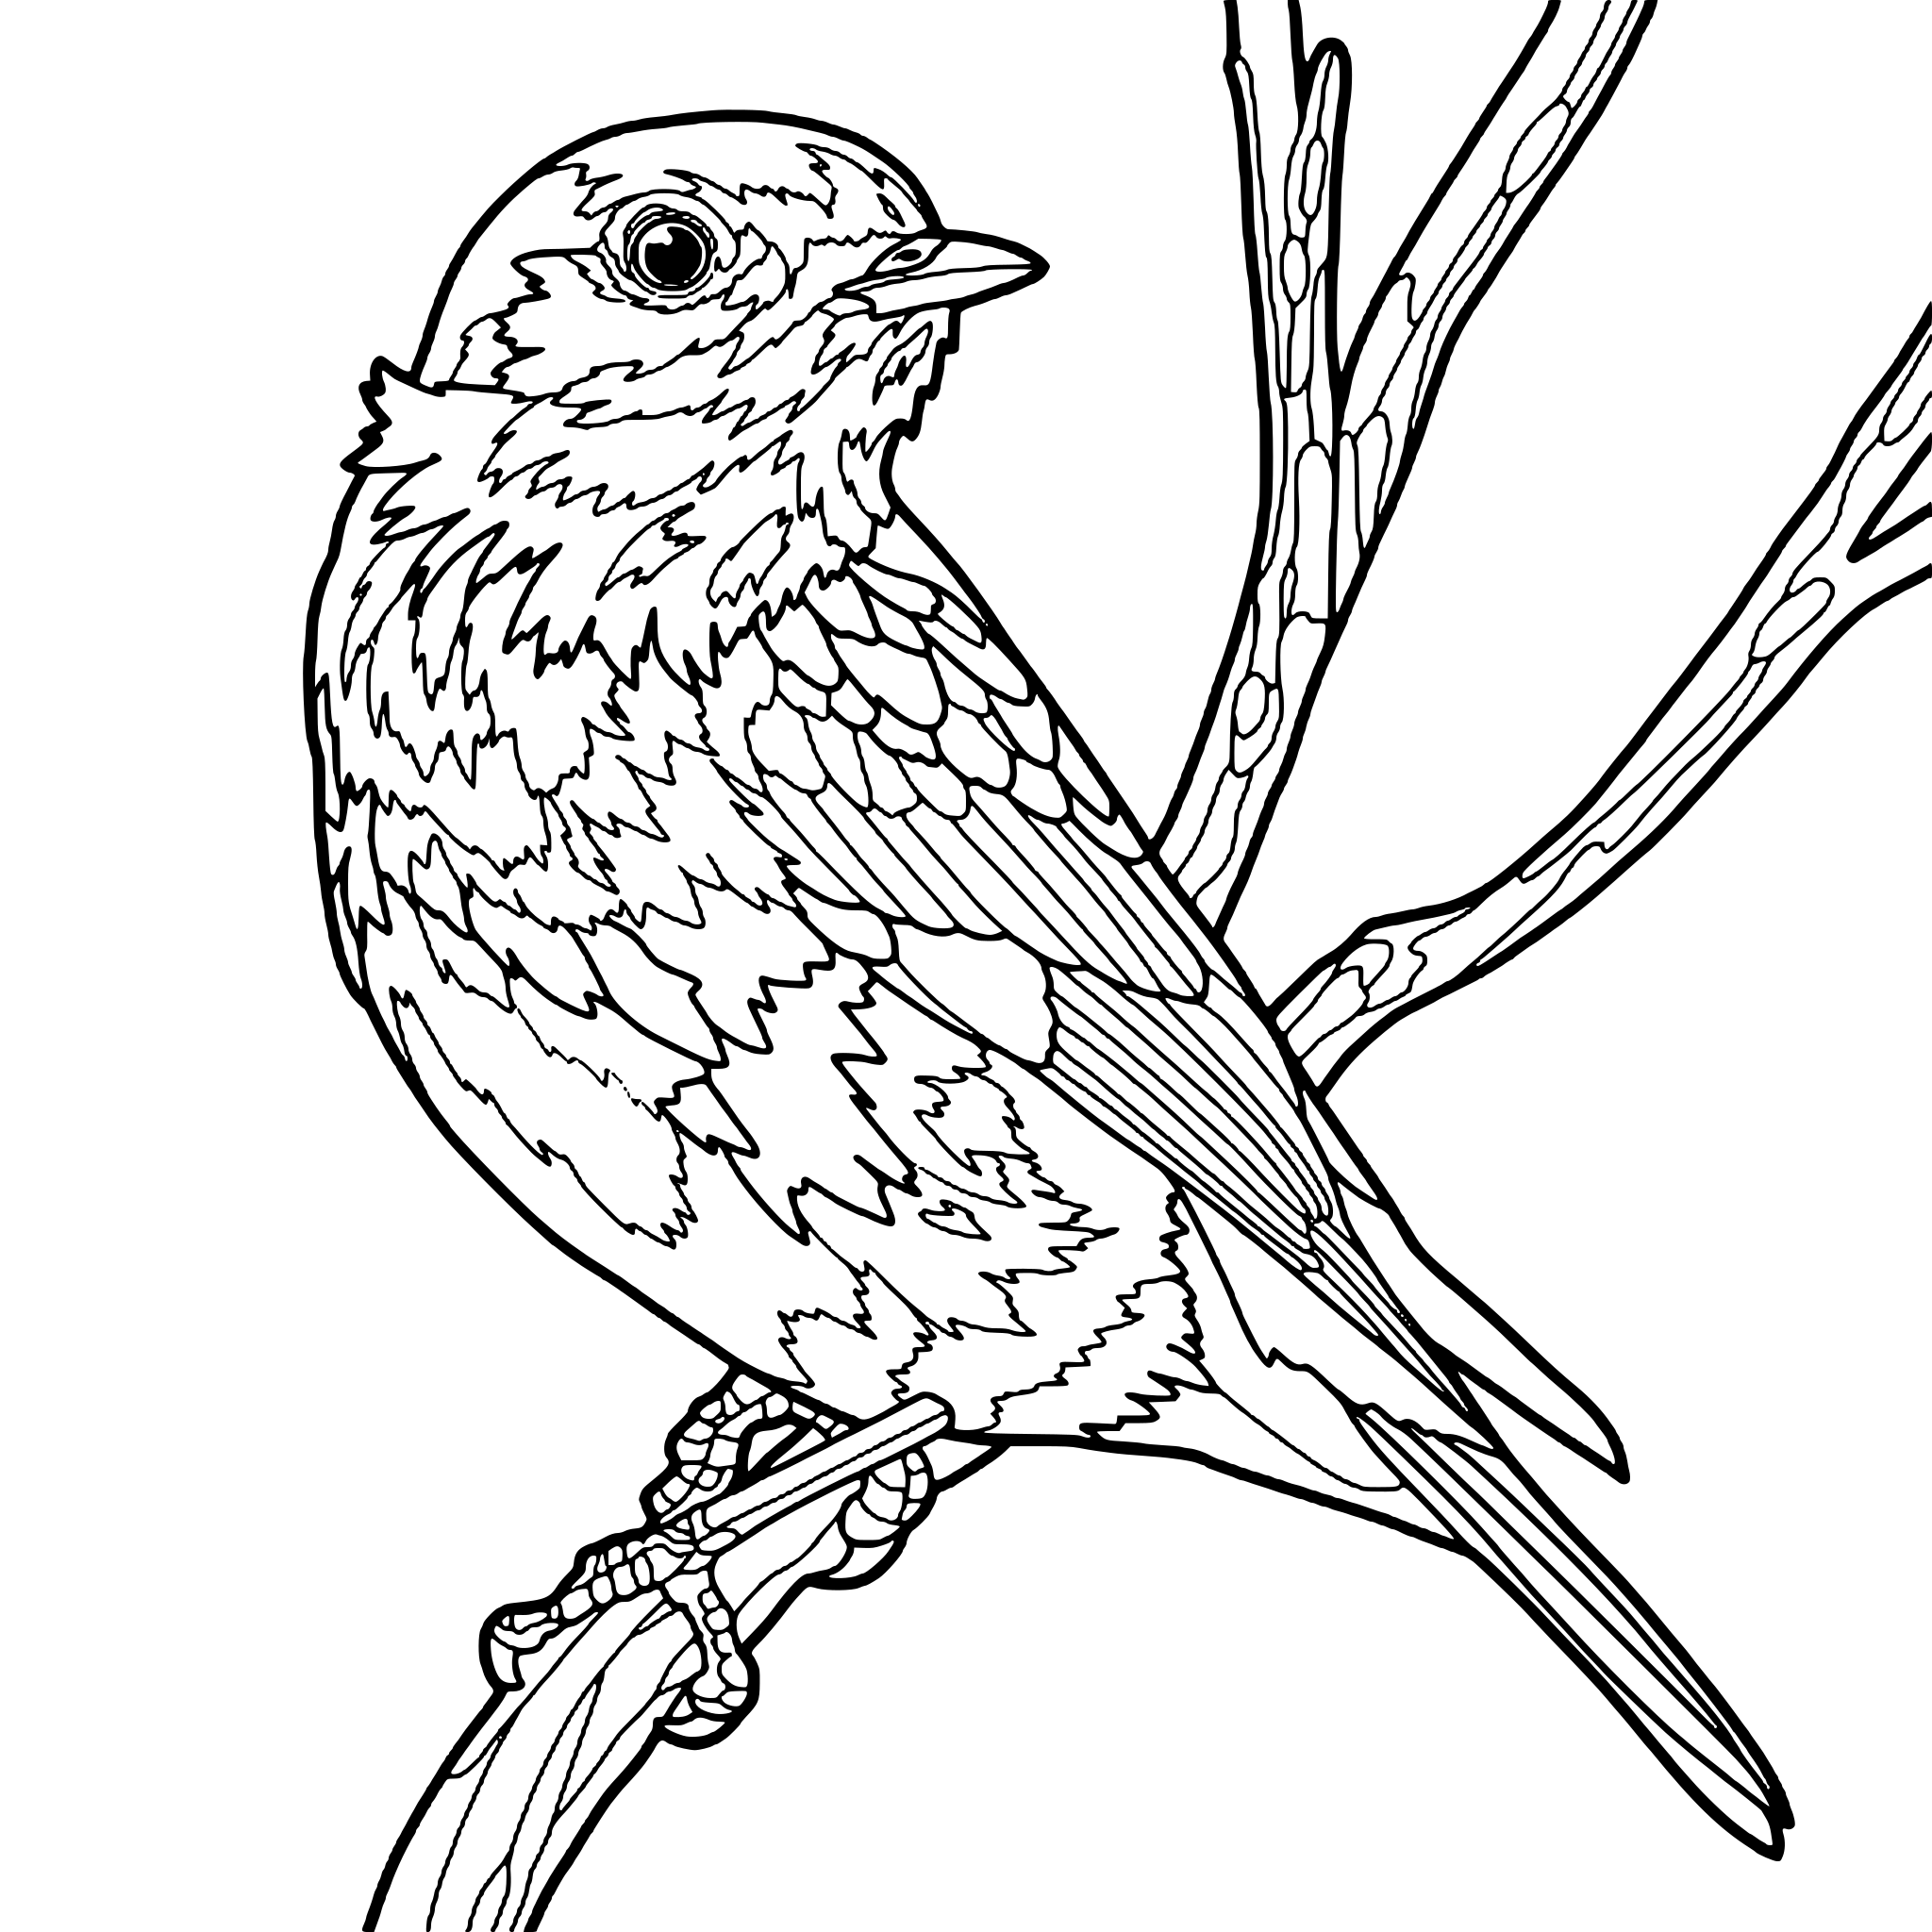 Free coloring pageBird on a branch coloring pageDownload PDF or color it in Linea →
Practice on your own drawing
Take a photo of a sketch and Linea turns it into a page you can fill.