Choosing paper for your coloring pages
Find paper that suits your pencils, markers or watercolor, with simple advice on texture, weight and printing at home.
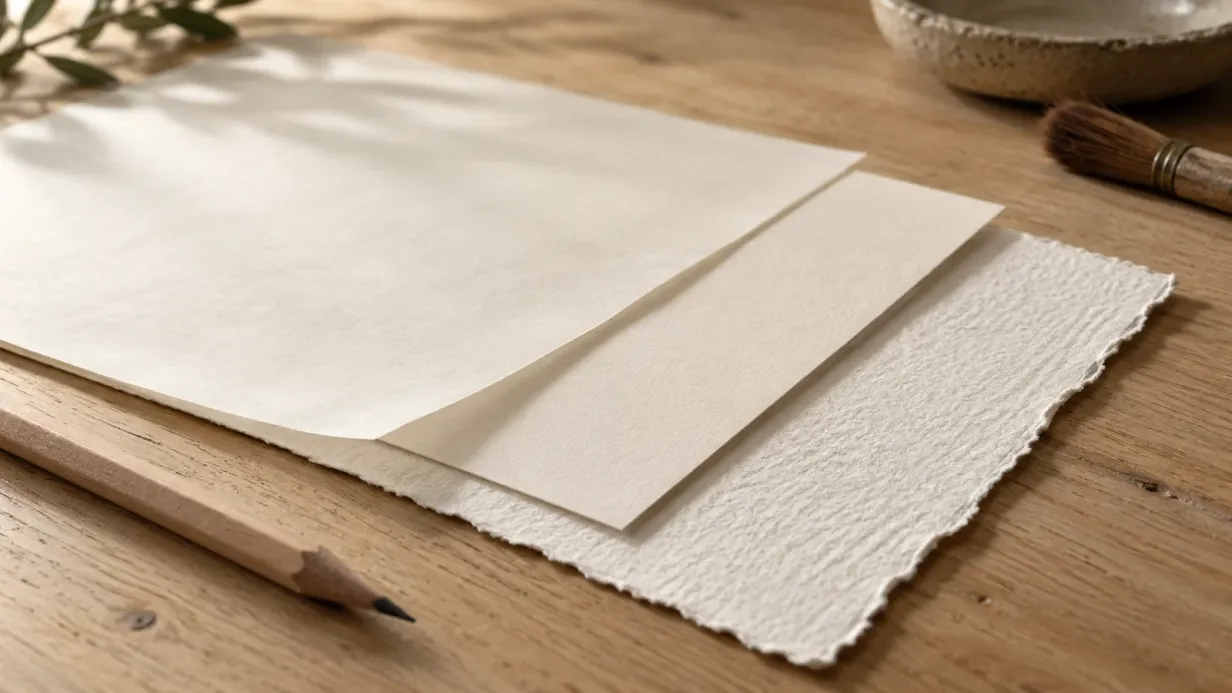
Paper changes the feel of coloring before you notice the difference on the page. A pencil catches on a little grain. A marker glides over a smooth sheet. A watercolor wash needs somewhere to settle without wearing the surface away.
Choose the paper for the tool you’ll use most. Weight helps, but surface texture and the way a sheet handles moisture matter just as much.
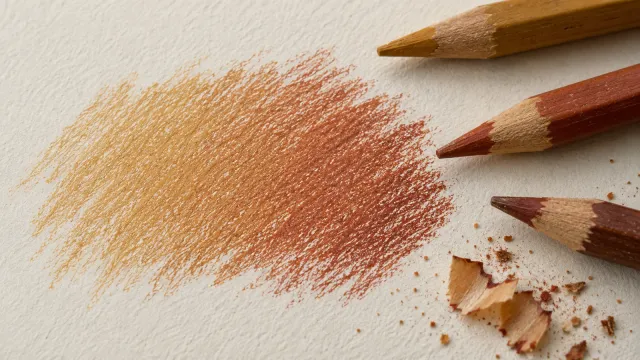
For pencils, a little texture helps
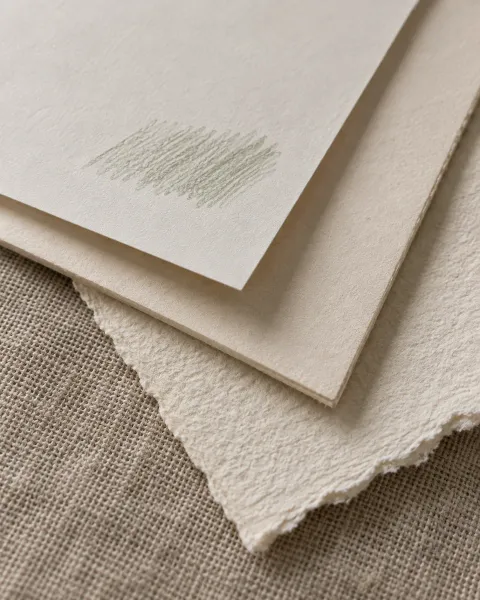
Colored pencils leave pigment in the tiny hollows of the paper. That texture, often called tooth, gives each new layer something to grip.
Smooth paper suits small details and an even finish. More textured paper leaves a visible grain and may hold more layers, depending on its surface. Neither finish is better in every case.
For home printing, heavier printer paper around 120 gsm is a useful starting point. Light cardstock can feel more substantial if you like to layer or erase. Check the printer’s limits first.
Try a swatch before printing a whole stack. Add several light layers and see whether you like the feel. Our pencil blending guide shows how to build those layers.
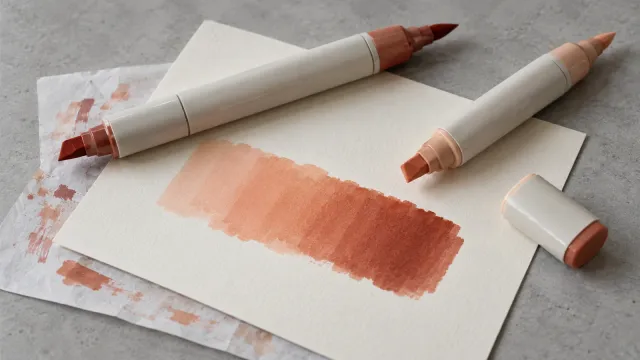
For alcohol markers, keep it smooth
Look for smooth marker paper or blending card. A rough surface can make an even fill harder to achieve, while very absorbent paper may use more ink than you expect.
Some marker papers have a coating designed to limit bleed-through. Dense card behaves differently: it may give you room to blend, yet still let ink reach the back. Always put a protective sheet beneath the page.
Your printed outlines need a test, too. Run a pale marker across a spare line and check for smearing. Printer ink and toner behave differently with alcohol, so a paper you like still needs to work with your particular print.
See how to blend alcohol markers for a small gradient to practice.
For water-based pens, watch repeated strokes
Water-based markers can roughen a sheet when you pass over the same area several times. Smooth heavier paper often handles light coloring well.
If you plan to soften the ink with a wet brush, choose mixed-media or watercolor paper. Let the surface dry before working it again, especially if you see little fibers beginning to lift.
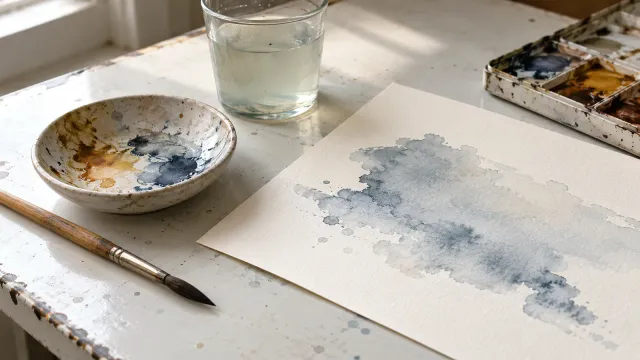
For watercolor, choose paper made for water
Watercolor paper is treated to manage a wash. Cardstock may feel equally stiff in your hand, but stiffness alone won’t tell you how it behaves when wet.
Hot-press watercolor paper has a smoother surface, which suits printed line art and fine details. Cold-press paper has more texture. Mixed-media paper can be a useful choice for light washes, though its capacity varies.
Around 300 gsm is a common weight for watercolor paper, and many home printers cannot feed it. Check the printer manual for supported weights, thicknesses and paper types. Use the recommended feed path; if the paper isn’t supported, a copy shop or a hand-traced outline may be easier.
Test the printed lines with a damp brush before painting. Letting a print dry doesn’t guarantee that its ink will resist water.
For gel pens, leave drying time
A smooth sheet helps a gel pen move easily, but coated surfaces may keep the ink wet longer. Try a few strokes and wait before resting your hand over them.
White or metallic details are often easiest to add after the underlying color has dried. Keep a scrap nearby to check that the pen flows cleanly.
Read the weight on the pack
Grams per square meter, or gsm, makes it easier to compare papers. Pound weights depend on the paper category: 100 lb cover and 100 lb text are different thicknesses.
If two packs use different weight systems, look for their gsm values rather than comparing the large number on the front.
Make one test print
Download the A4 or Letter PDF that matches your sheet. Choose actual size or 100% when you want to preserve its dimensions, then check the preview for anything your printer’s margins might clip.
Select the paper type recommended by your printer and use a quality setting that keeps the outlines clear. Test on an ordinary sheet before loading your chosen stock.
The muffin page has open shapes and finer details, so it makes a useful first print:
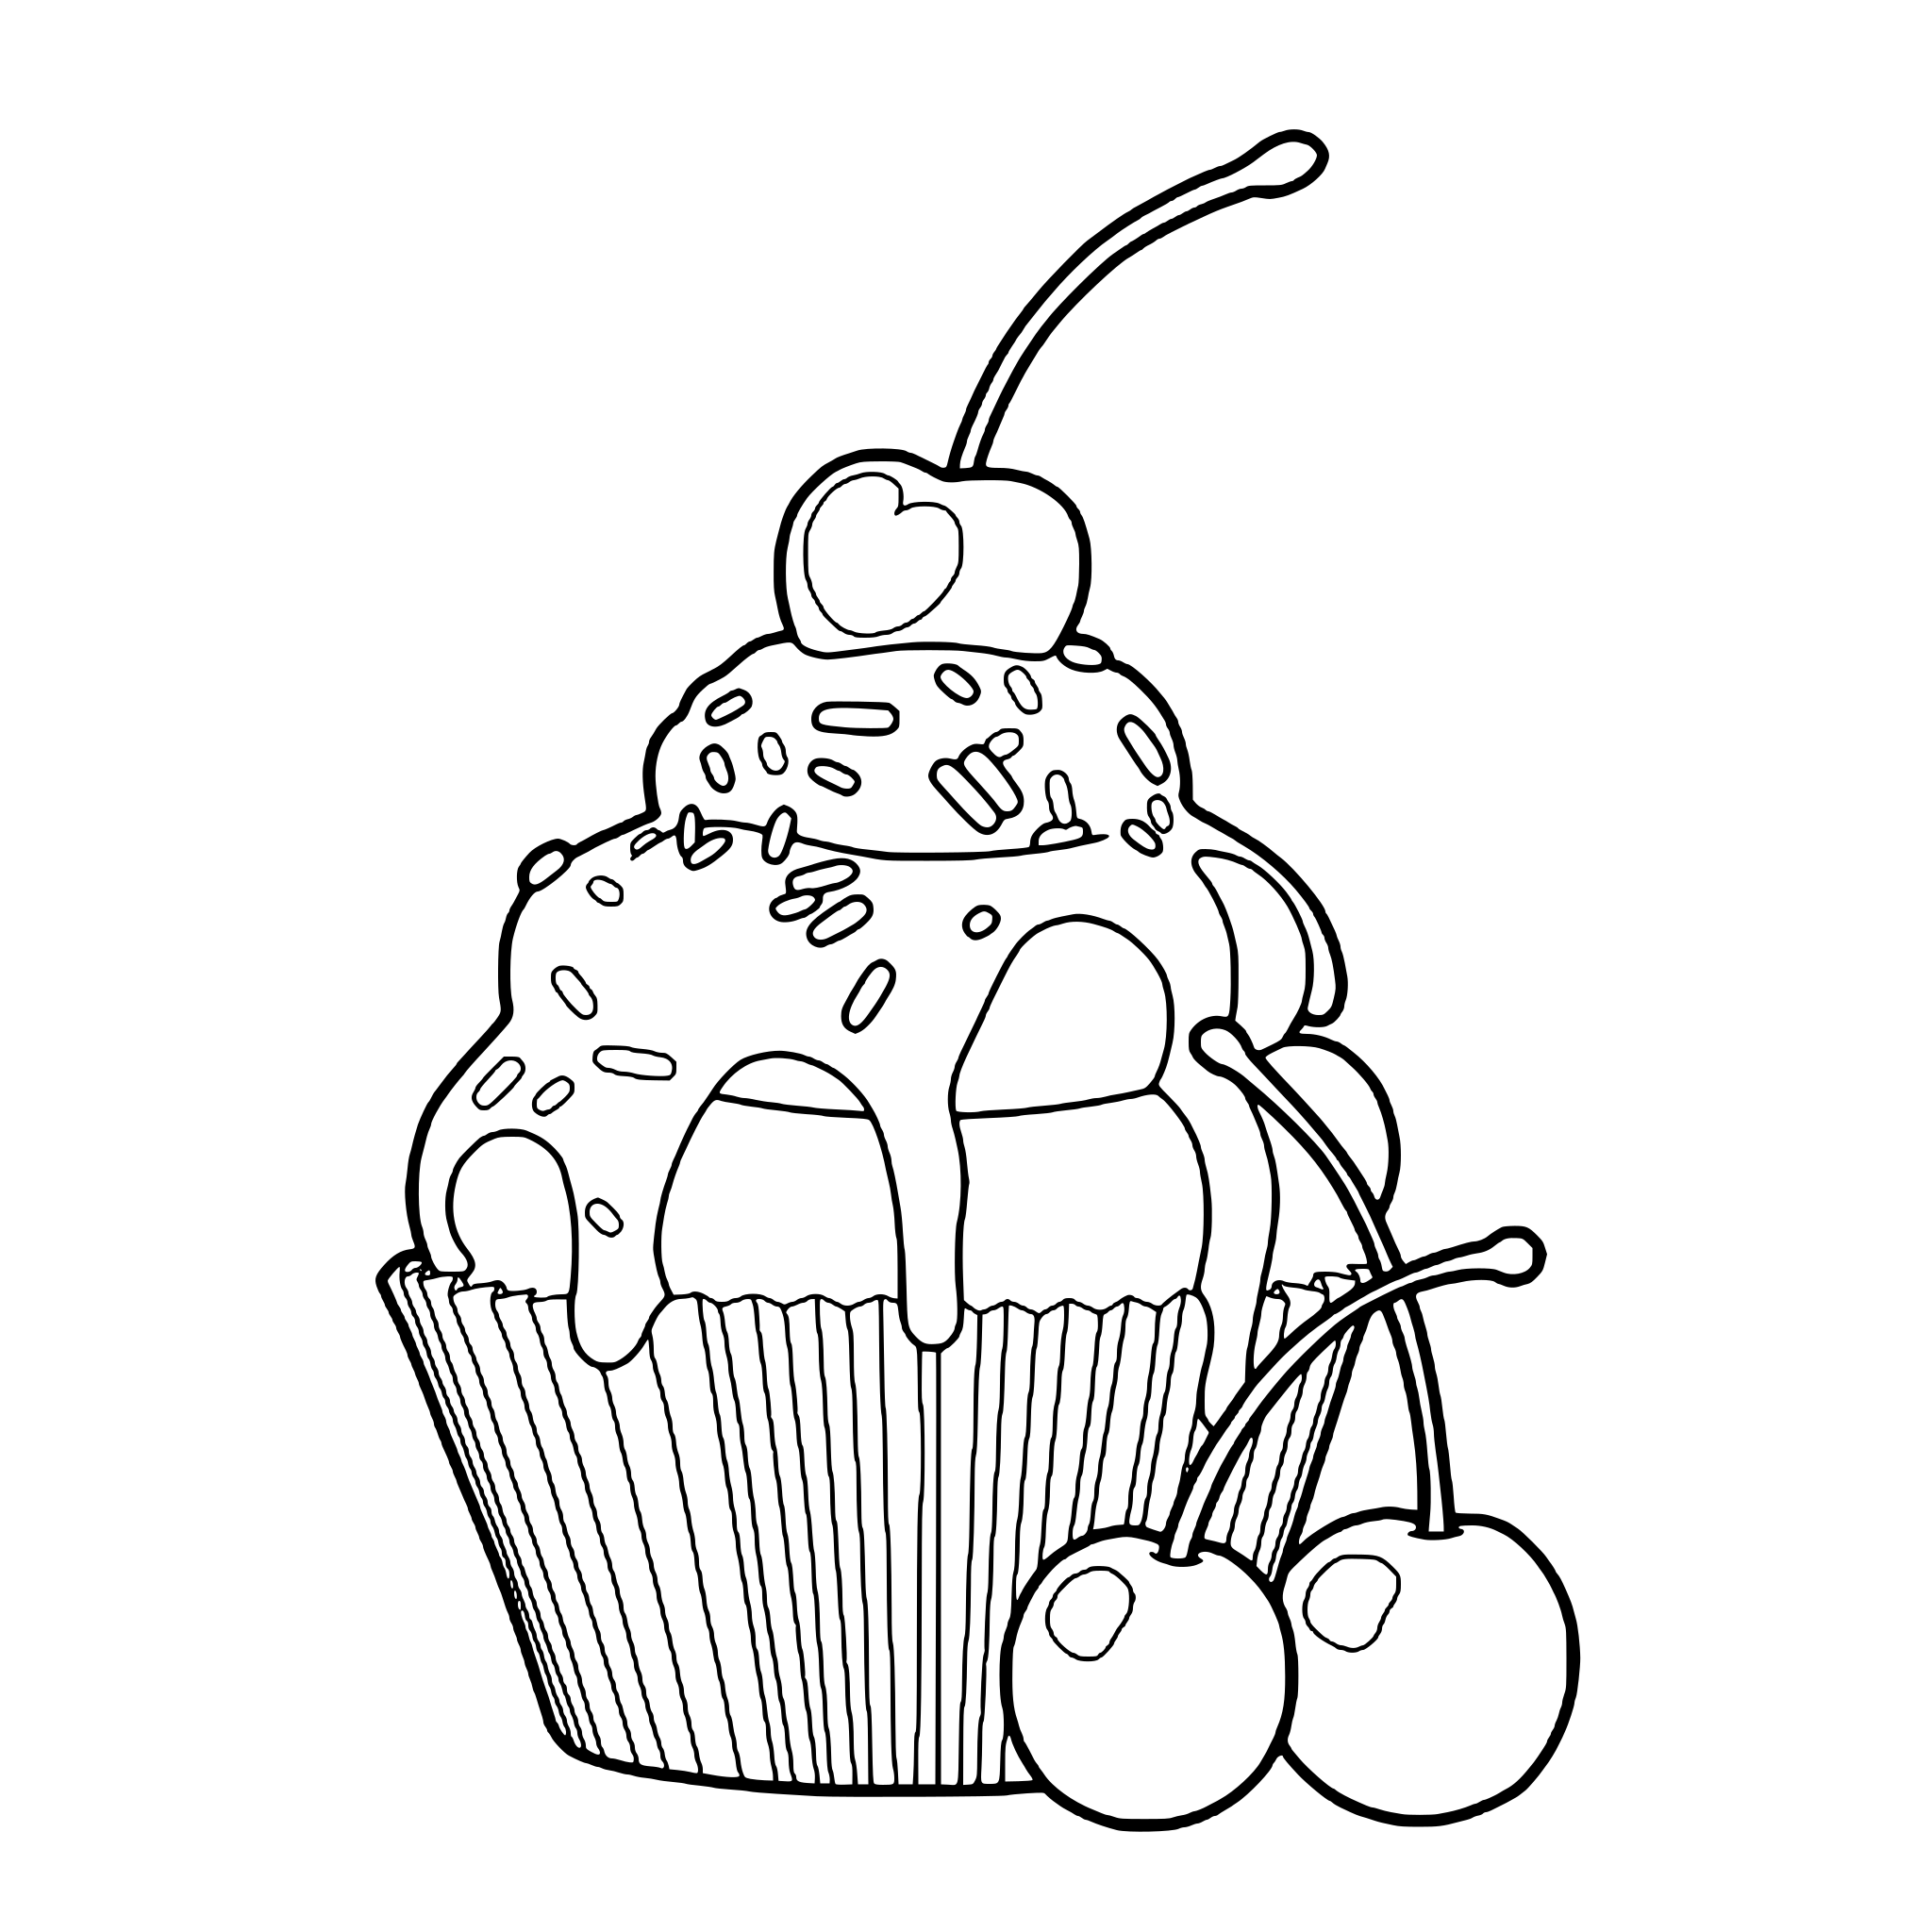 Free coloring pageMuffin coloring pageDownload PDF or color it in Linea →
Once you’ve found a paper you enjoy, keep a note of its name and the printer setting. Next time, you can settle straight into coloring. For evenings when you’d prefer to leave the paper cupboard closed, Linea brings watercolor coloring to your screen.
Practice on your own drawing
Take a photo of a sketch and Linea turns it into a page you can fill.