How to blend colored pencils, one light layer at a time
Build gentle gradients with colored pencils, learn when to burnish and find a finish that suits the paper beneath your hand.
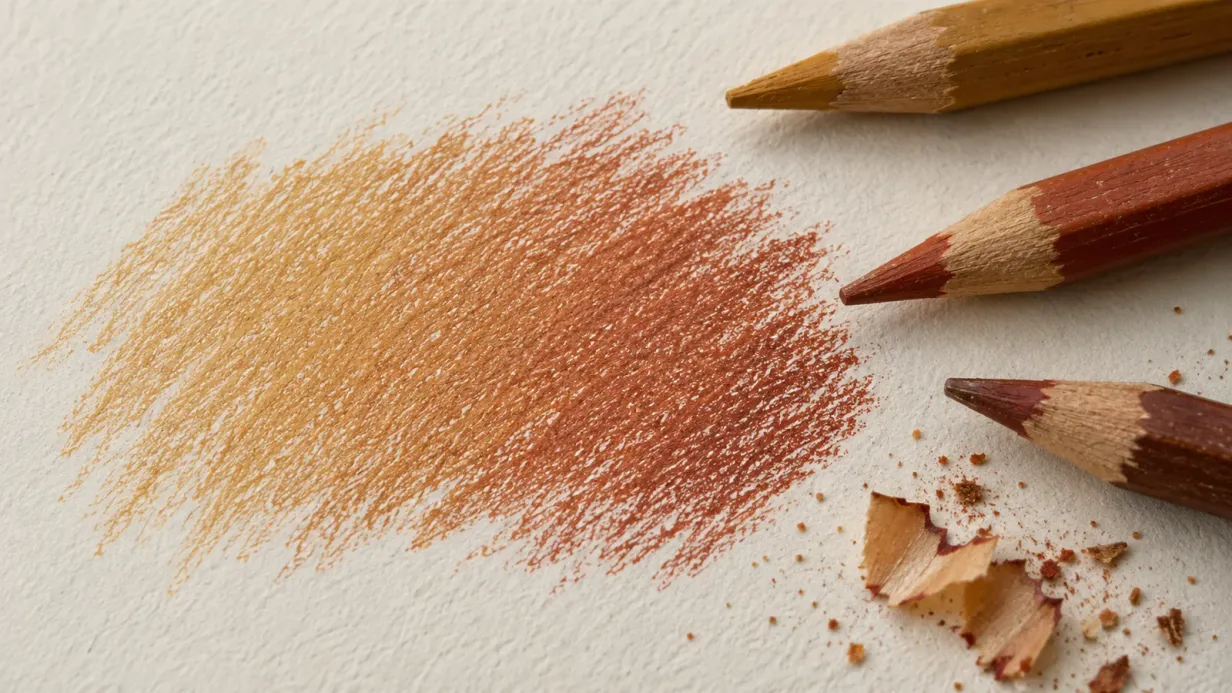
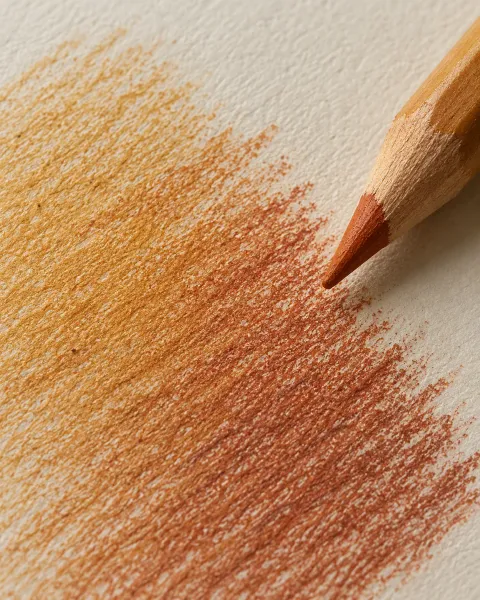
A smooth pencil blend usually begins with a layer so pale you can still see most of the paper. Add another, overlapping the first. The color gathers gradually, and the join between two shades begins to soften.
You can leave a little grain showing or work toward a polished finish. Both have their place.
Notice how your pencil feels
Some colored pencils have soft cores that lay down pigment readily. Others feel firmer and keep a fine point, which can be useful for details.
Wax-based and oil-based are common descriptions, though pencil formulas are more complex than that distinction suggests. The combination of your pencil, paper and pressure matters more than the label alone.
Before buying anything new, try layering two colors you already own. Notice when the surface begins to feel slippery and whether lighter strokes give you more room to work.
Start with a sharp point and a light hand
A sharp point reaches into the paper’s texture. Hold the pencil a little farther back from the tip and use small circles or short overlapping strokes.
Change stroke direction between layers if you can see strong lines appearing. Keep your grip comfortable; you shouldn’t need to bear down to make the first color show.
Let two colors meet gradually
Choose a light shade and a deeper neighbor, then try this on one mushroom cap:
- Lay the light shade across the shape, keeping any highlight bare.
- Add the deeper shade from the shadow side, easing your pressure as you approach the middle.
- Bring the light shade back over the join with gentle strokes.
- Repeat where needed, checking the whole shape between layers.
If the transition looks abrupt, a middle shade may help. You can also make the overlap wider rather than pressing harder in one narrow strip.
Choose whether to burnish
Burnishing means using firm pressure near the end to compress the pigment and reduce the visible paper grain. It can give a blend a smooth finish, but it also makes later layers harder to add.
Try it on a small patch first. A lighter colored pencil can soften the join while shifting the color toward its own shade. White often makes the result paler. A colorless blender pencil smooths the layers without adding a new pigment.
Stop before burnishing if you like the texture you already have. A softly grained page doesn’t need correcting.
When the paper stops taking color
If the pencil begins to slide and new layers make little difference, the surface may be full. More pressure can dent the sheet without improving the blend.
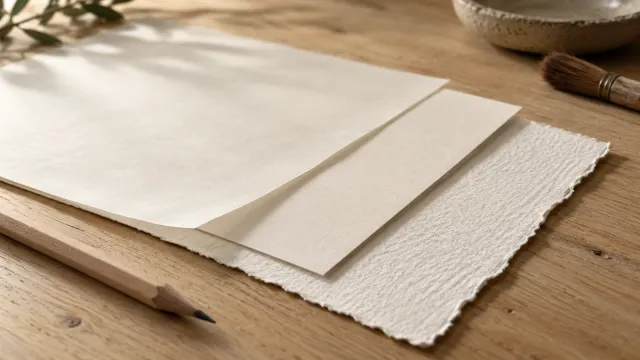
For your next section, start lighter or try a paper with more texture. Our paper guide can help you choose a surface.
To lift a little pigment, gently dab a kneaded eraser. Test first, particularly on delicate paper; a heavily worked area may not lift much.
Keep extra tools optional
A blender pencil is a useful addition, but overlapping layers can do a great deal on their own.
Some artists use solvents to blend colored pencil. They require compatible paper and careful handling according to the product’s safety instructions. For an easy session at home, dry blending keeps the setup simple.
A pale haze may appear on heavy wax-rich layers. This is often called wax bloom. A gentle wipe with a soft, dry cloth may clear it; test a corner and avoid rubbing the drawing hard.
Give one shape your attention
You don’t need to blend the whole page the same way. Keep the cap smooth, leave the stem grainy and see which you prefer. For ideas about where to deepen the color, visit the shading guide.
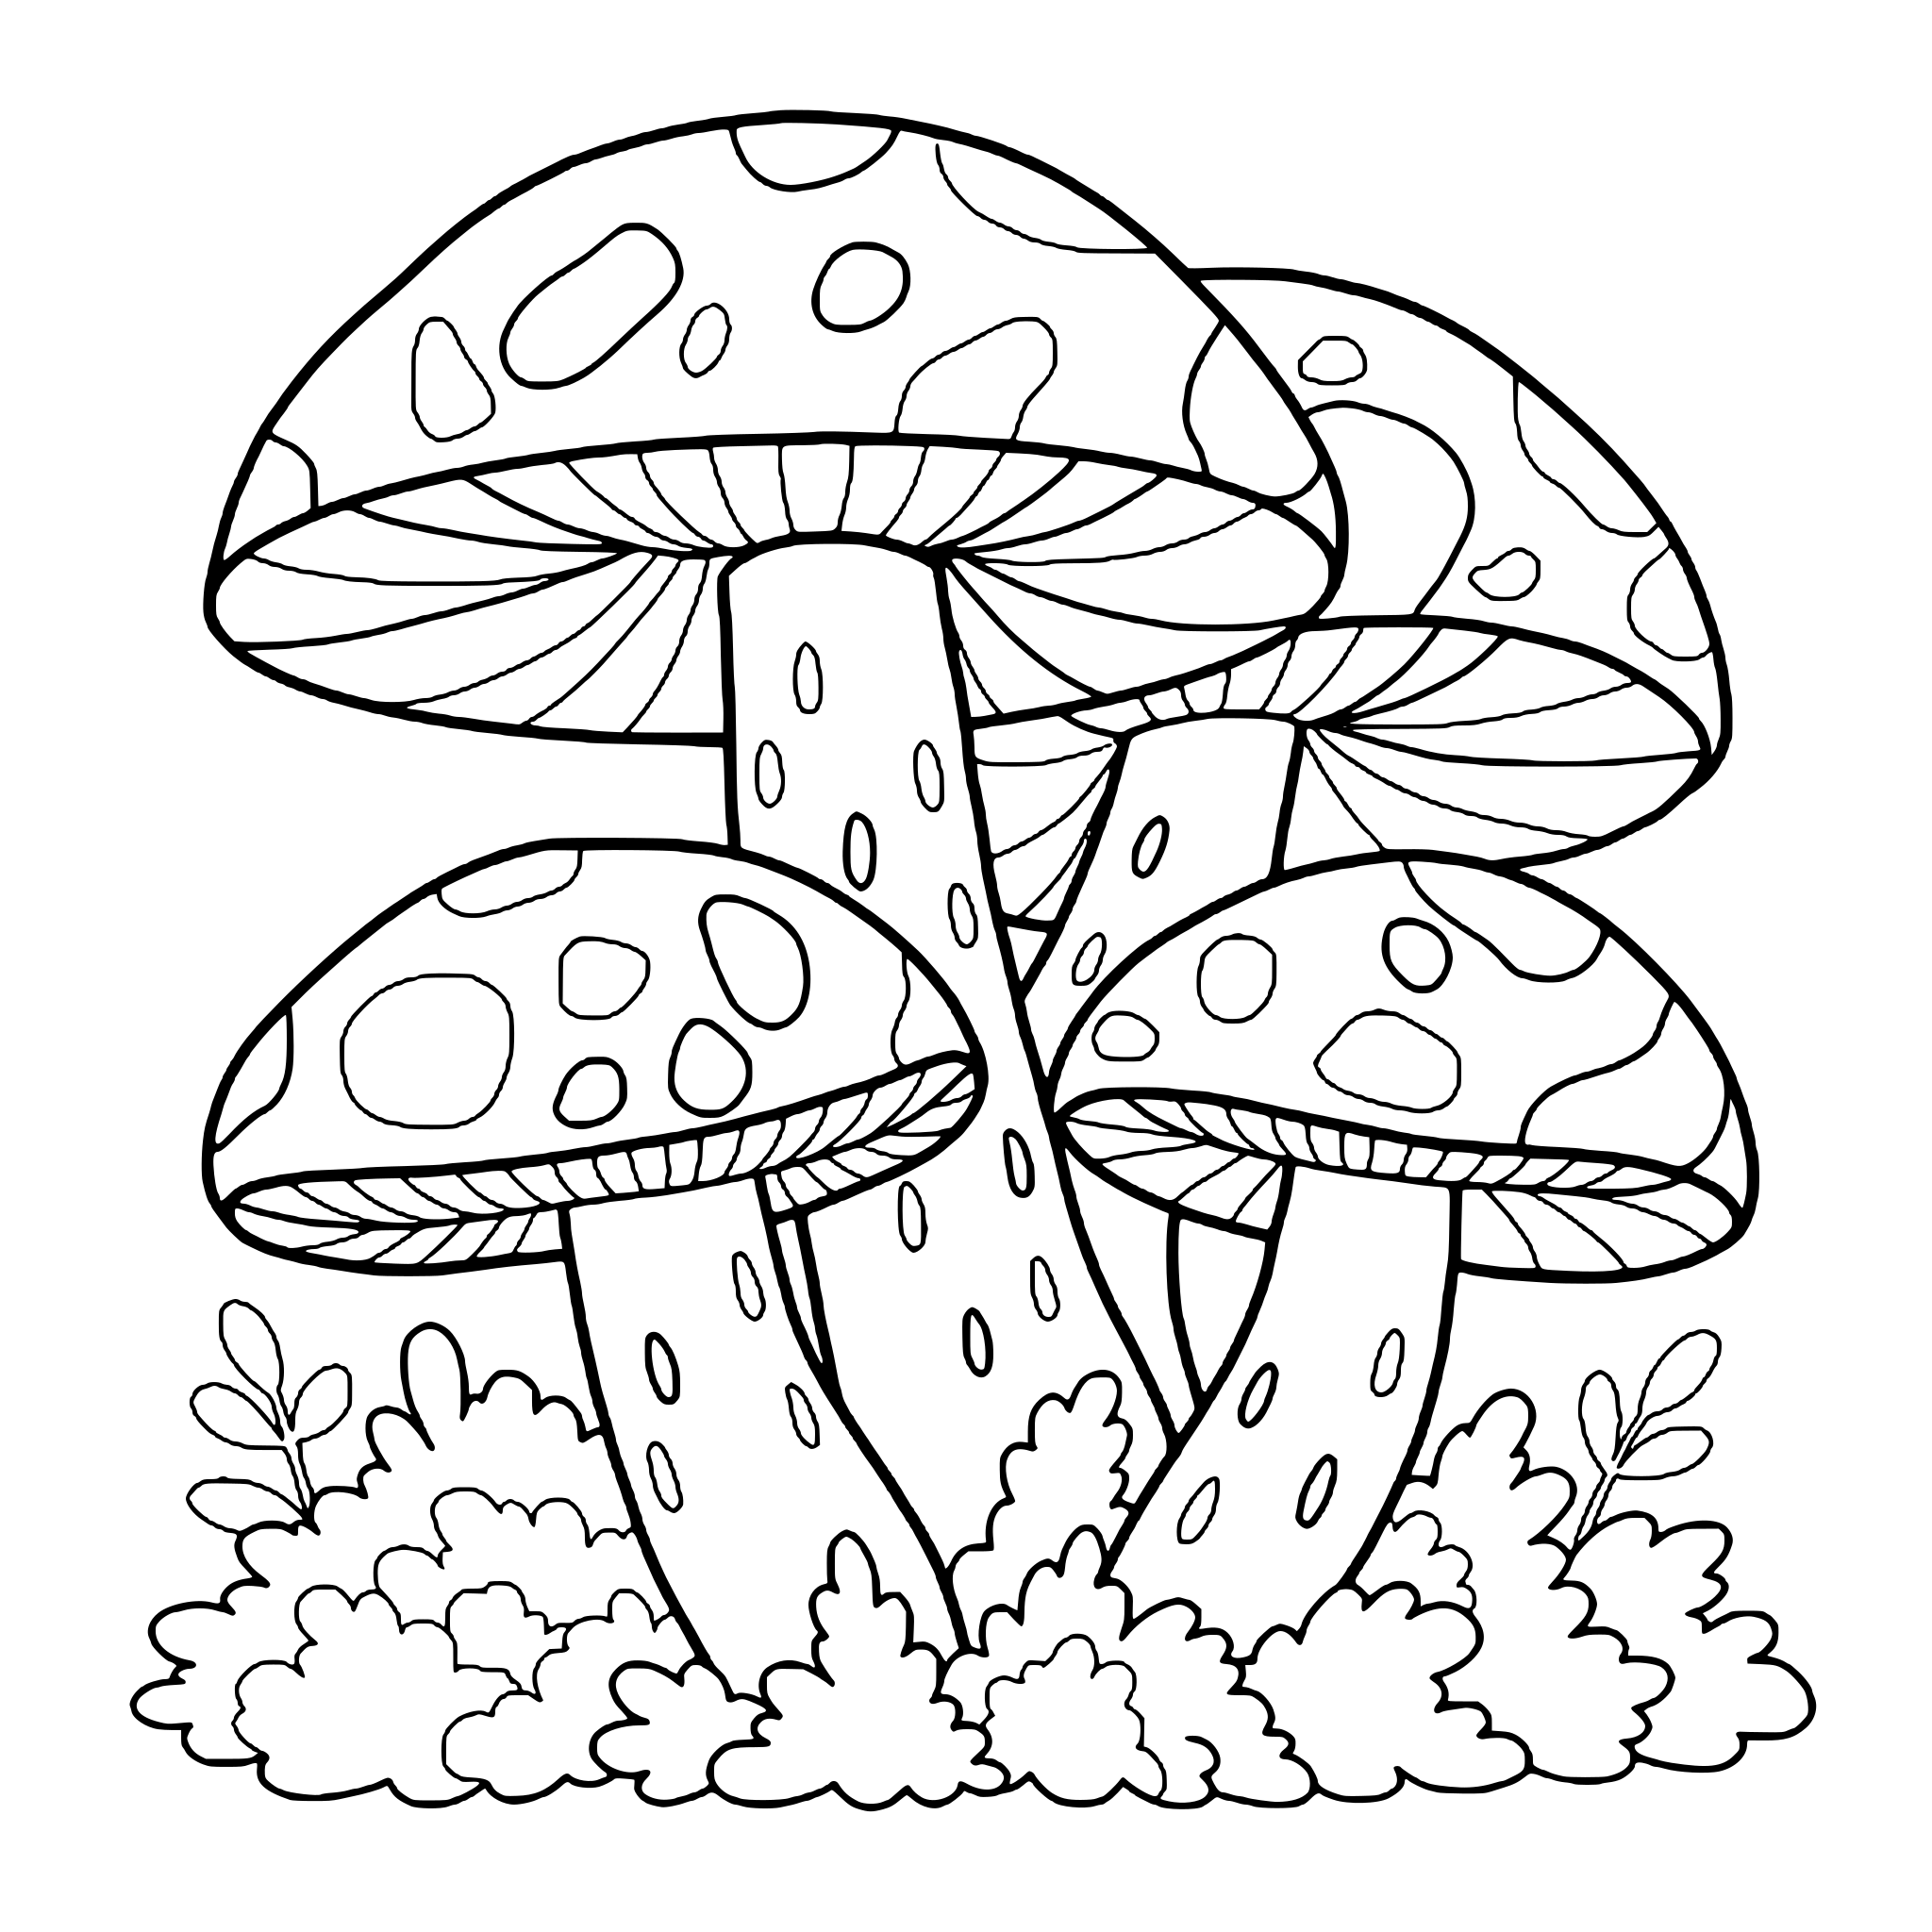 Free coloring pageMushrooms coloring pageDownload PDF or color it in Linea →
Linea offers another way to build color, with watercolor brushes for trying a different kind of layered mark. Paper and pencil offer their own pleasure: a soft scrape, a turning point and color appearing beneath your hand.
Practice on your own drawing
Take a photo of a sketch and Linea turns it into a page you can fill.