How to blend alcohol markers into soft color
Practice smooth fills and gentle gradients with alcohol markers, using nearby shades, suitable paper and a small shape to begin.
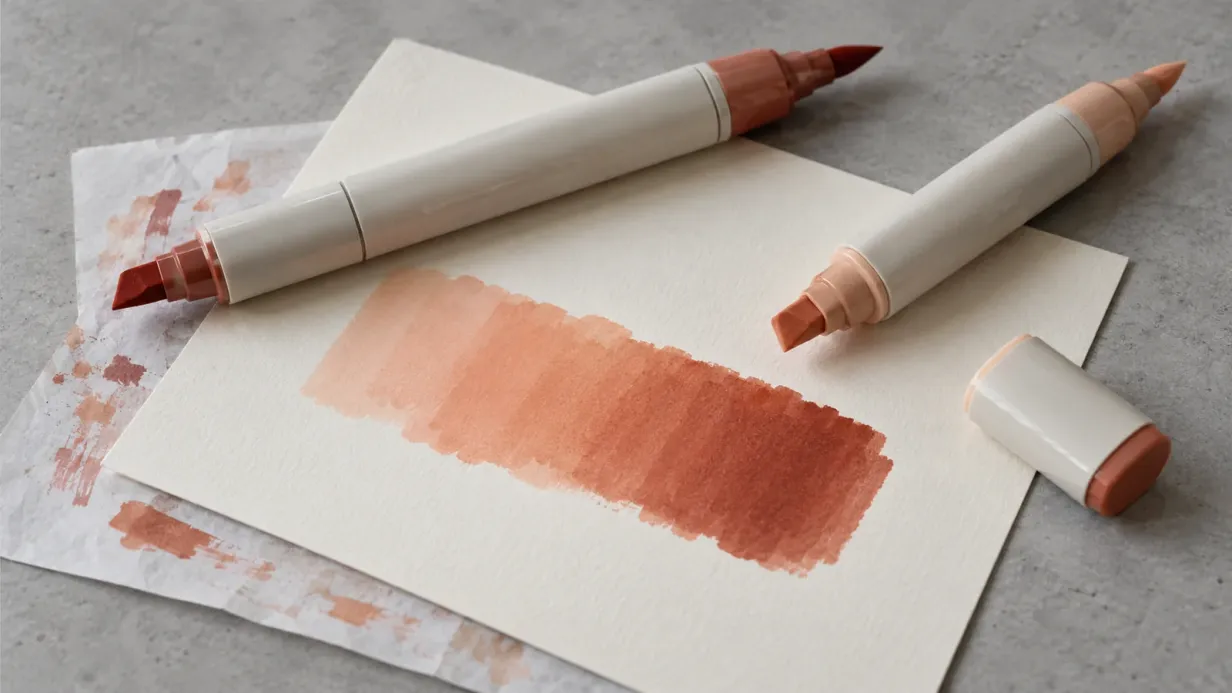
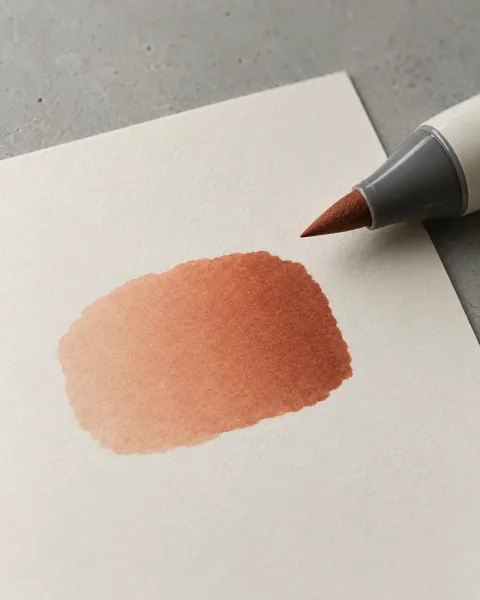
Alcohol markers have a lovely moment when two shades meet while the ink is still damp. The darker color softens into the lighter one, leaving a gradual change across the paper.
Timing helps, but so does choosing a manageable shape. Start with a cherry or a leaf. A whole sky can wait.
Give the ink the right surface
Use smooth marker paper or blending card, with a protective sheet underneath. Alcohol ink can reach the back even on heavy stock.
Paper affects how quickly ink spreads and dries. Before coloring, test a small patch with the markers you plan to use. If you’ve printed the page, check that its outlines don’t smear under a pale marker.
The paper guide explains what to look for.
Find two or three nearby shades
Choose a light color and a slightly darker one from the same family. A middle shade helps when the difference is larger.
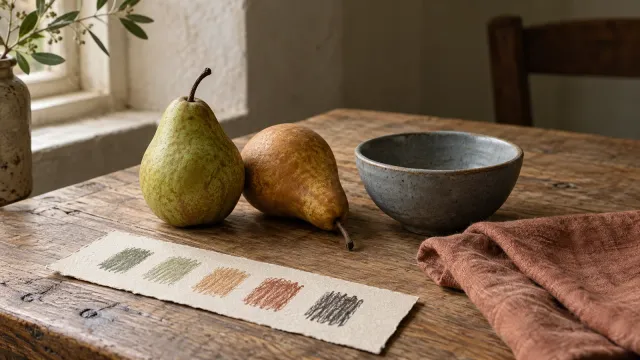
Swatches are more useful than marker caps. Make a strip on your chosen paper and let it dry before deciding which shades belong together.
With Copic, the letters describe the color family, while the digits describe saturation and brightness. Its color system guide explains the codes. Other brands use different systems, so compare the actual ink rather than matching numbers across sets.
Keep a small area moving
Lay down the lightest shade with overlapping strokes. Small circles can help you cover a rounded shape evenly; broader strokes may suit a larger area.
Work steadily while the ink is damp. Pause at an outline when you need to stop, rather than halfway across an open shape.
Streaks can come from partly dried overlaps, an absorbent surface or a marker running low on ink. If repeated passes aren’t helping, test the nib and paper before adding more ink to the page.
Try a gentle gradient
On one rounded shape:
- Add a light base, leaving any white highlight untouched.
- Place the middle shade on the side facing away from your imagined light.
- Add a little dark color in the deepest shadow.
- Pass the middle shade over the dark edge, then the light shade over the remaining join.
Use a light touch near the highlight. Repeated passes can spread ink farther than you intend, so stop and let the patch dry before deciding whether it needs more work.
The muffin page has a curved top and small cherries for trying these transitions:
Leave room near the line
Wet ink may spread beyond the nib. Begin slightly inside the outline and watch how far it travels on your paper. You can fill a narrow gap later if you need to.
For a fade into white, flick the nib outward and lift at the end of the stroke. Try a few on scrap paper until the motion feels comfortable.
Get to know the colorless blender
A colorless blender contains no colored dye. It moves and dilutes ink, which can help with a soft edge or a small light patch. It doesn’t erase a mark, and it can leave a ring.
For joining two colored shades, a nearby lighter marker is often the easier tool. If its nib picks up darker ink, scribble gently on scrap paper until the original color returns.
Practice with the markers you own
You don’t need a complete set to learn a blend. Two close shades and a paper you enjoy will tell you plenty.
Try the bird page one feather at a time:
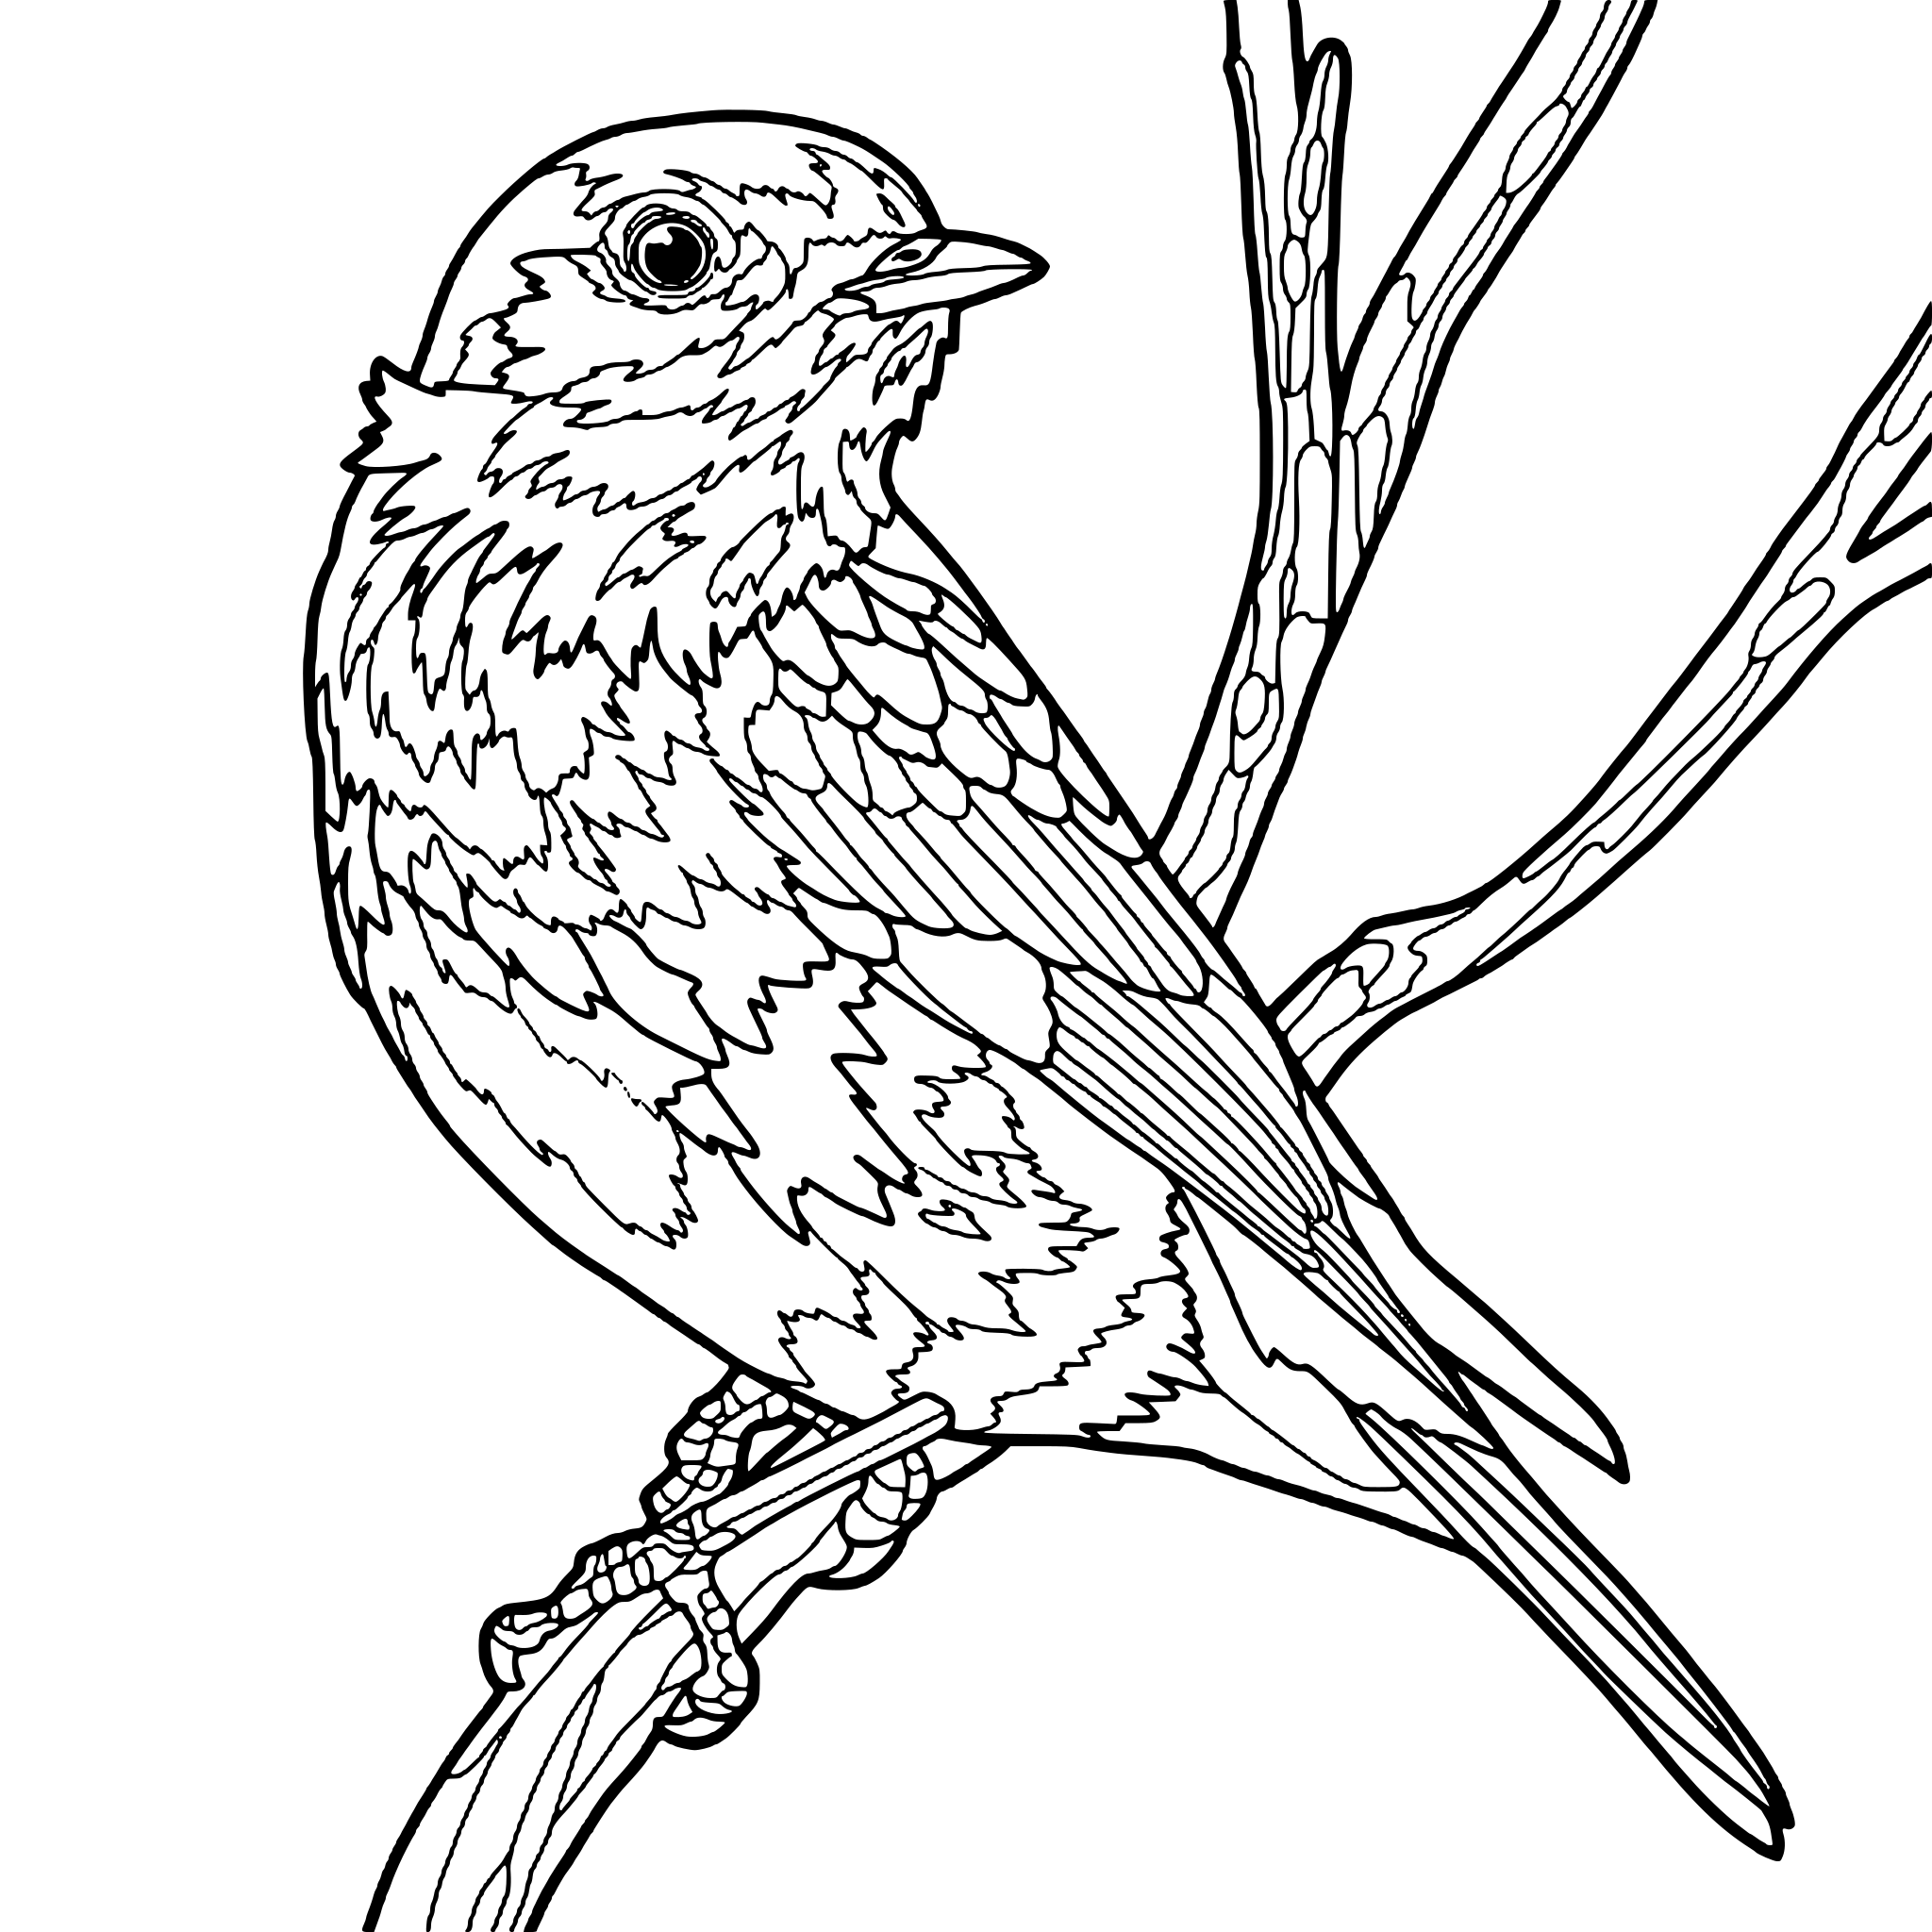 Free coloring pageBird on a branch coloring pageDownload PDF or color it in Linea →
If you’re curious about painting on a screen, Linea has brushes that let color build within the outlines. The feel will be different from ink on paper, but you can still explore a pale edge becoming a shadow.
Practice on your own drawing
Take a photo of a sketch and Linea turns it into a page you can fill.